



If you've found us, you like what we do, but you're looking at the site thinking "I have no idea where to start" - this is for you. I promise it's simpler than it looks.
I've been designing piercing jewellery for six years and this is the question I get asked the most. So here's exactly how I'd build a stack from scratch, piercing by piercing, with the pieces I'd choose for you. You don't need all of it. Most people only need two or three of the right things, and I'll show you which ones.
First, the bit that matters most.
Two rules before you buy anything
1. Piercings only get Implantium. Implantium™ is our implant-grade titanium (ASTM F-136 - the same grade used in medical implants), which means your body won't react to it. It's what I wear in every one of my piercings and it's all I'll ever wear in them.
2. Everything has to be non-tarnishing. There's nothing worse than taking an earring out and finding a green or black mark on your ear. That's the metal reacting with your skin. Everything we make is either Implantium or PureTone™ (our waterproof gold-plated stainless steel), so it won't tarnish, won't turn and you can shower and sleep in it.
This is the reason people stay with us: You put it in and you forget about it.
The one styling rule to remember: The gradient
Biggest at the bottom, smallest at the top.

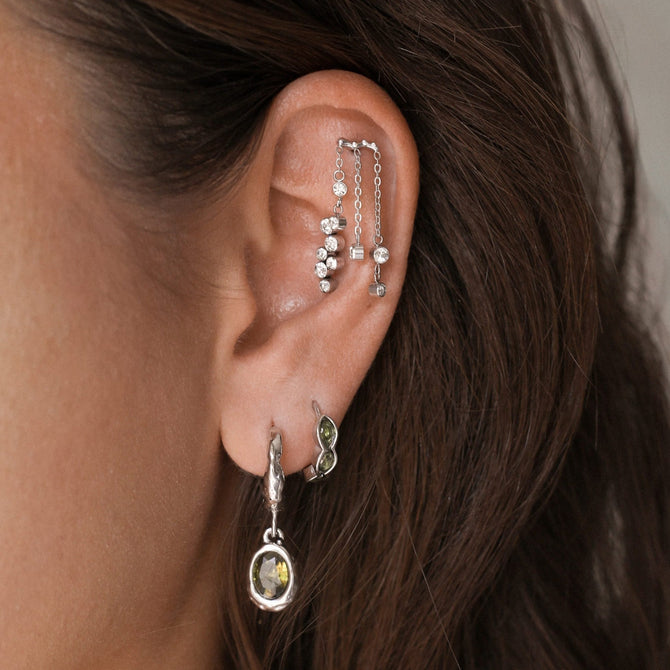
This is how I build every stack, including my own. Your first lobe gets the statement piece - a big hoop or a dangle - and then each piece above it gets a little smaller as you go up the ear. By the time you get to the helix, you're on the smallest, simplest piece you have.
It works because your ear naturally narrows towards the top. If your jewellery follows that same shape, the whole ear looks put together, even if you only have three pieces in. Everything below is just this rule applied to each piercing, working from the bottom of the ear to the top.
Piercing by piercing: What I'd put where
First lobe: The statement
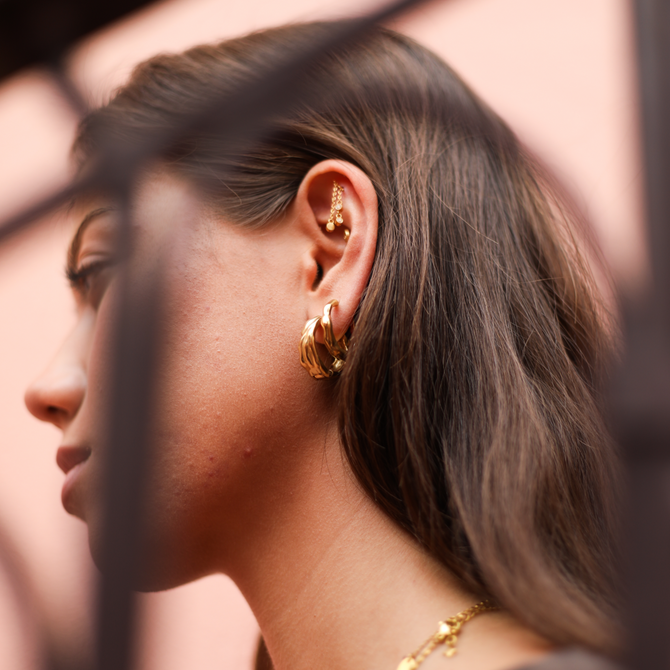
This is where your biggest piece goes - a wide hoop, or a hoop with a drop on it. It's the anchor for everything else.
- Kaleidescope Hoops, £41 - stones all the way round, waterproof, and they go with everything
- Sunken Hoops, £50 - chunkier and plain, if you'd rather keep the sparkle for higher up
Second lobe: Huggies
A smaller hoop that sits close to the lobe. Keep it near the first one so it looks like one line going up the ear.
- Ripple Huggies, £45 - textured, so they catch the light without needing stones
- Mia Diamante Huggies, £37 - if you'd like the sparkle to carry on from the first hole
Third and fourth lobes: Clickers
Keep going with rings, and keep going a size smaller each time. These two are my favourites up here - they have a bit of texture, so they look really considered without being big.
- Relic Clicker, £34
- Tidal Clicker, £34
Tragus: Keep it tiny
Go for the smallest thing you can. It sits right next to your lobe pieces, so anything bigger would take attention away from them.
- Eternity Pavé Clicker in the smallest size, £28
- Small Solitaire Flatback, £29 - one little stone, flat to the ear, so you can sleep on it
Conch: A little cluster
The conch has more room than most piercings, so this is the one place in the middle of the ear where you can have some detail. Something with a few stones that still sits flat.
- Druse Flatback, £35
- Climbing Ivy Flatback, £31
Flat: Something with a bit of shape
The flat is the wide area of cartilage above the conch. A piece with a little length to it looks lovely here because it follows the curve of your ear.
- Dangle Flatback, £31
- Gilded Leaf Flatback, £31
Rook: A U hoop
- Roxi U Hoop, £36 - also comes with opal, sapphire, ruby or olive stones
Helix: Small and simple
You're at the top of the gradient now, so this is your smallest piece. A little leaf, a two-stone piece or a U hoop all look beautiful here.
- Chain Drop Leaf Flatback, £35
- Toi et Moi Flatback, £35
- Roxi U Hoop, £36
If you've only got lobes
That's completely fine, and honestly it's where most people are. Statement hoop in the first hole, huggies in the second, and stop there. It'll look finished, not half done. If you'd like to add more later, get a helix or a conch pierced, let it heal properly in titanium, and come back to this guide.
If you'd rather build it up slowly
Buy in this order: Your first-lobe statement, then the huggies and clickers for the lobes above it, then your conch or helix piece, then the tiny flat stones. That way your ear looks complete at every stage, so you never feel like you're waiting on the next bit.
Still not sure?
Here's some more inspo:


Georgia x